Create a free profile to get unlimited access to exclusive videos, sweepstakes, and more!
SYFY DIY: How to create your own spooky FX makeup this Halloween season

There are plenty of spooky things to see and do in October, from binge-watching horror films, to reading spine-chilling stories, to checking out haunted attractions where scare actors do their best to terrify you. As the month draws to a close, you may just feel the urge to transform into a monster yourself, and if you're really ambitious, do it effectively enough to impress (as well as creep out) your friends.
Creating your own horrifying look can go beyond simply buying a mask from one of 10 million pop-up Spirit Halloween stores. With a little bit of practice, you can forgo that off-the-shelf costume and use horror FX makeup to turn your face into your personalized version of a ghoul, zombie, or whatever other creature you have in mind.
To help you on your horror makeup journey, SYFY WIRE interviewed three horror FX makeup professionals — Charles Wills, Beatrice Sniper, and Kenneth Calhoun — to get their tips on how to create your own spooky look at home.
Read on for their advice on where to start, no matter what your skill level!
BEGINNERS CAN DO A LOT WITH BASIC MAKEUP
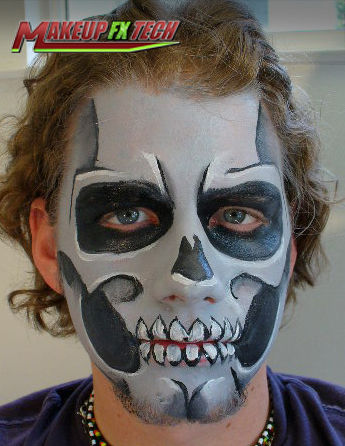
“For beginners, I think it is important to keep it simple,” explains Wills, an FX makeup artist who has worked on horror projects such as Queen Mary’s Dark Harbor and Rob Zombie’s Great American Nightmare. “You can do a lot with just two-dimensional makeup using highlights and shadows to change the forms of your face.”
One such example is a skull makeup tutorial that Wills has on his do-it-yourself FX makeup website. This effect only requires a few colors of makeup, a brush, and a little bit of practice.
All of our experts agree that practice is probably the most important part of creating a great makeup effect — especially if you’re a beginner. “Every time you do an application you learn a bit more about the process and materials,” Wills says. “If something doesn’t work out the way you want it to, this gives you the time to adjust, research, and improve.”
Sniper, an FX expert whose blood and gore makeup has been featured in numerous horror productions, also emphasizes the need to practice. “Like any other hobby, SFX is expensive and takes a bit of getting used to," she says. "There are a lot of chemicals, a lot of products, and a lot of techniques. Be safe, and practice on yourself.”
IF YOU WANT TO GO BEYOND 2-D MAKEUP, START WITH LATEX PROSTHETICS
Practicing is especially important if you’re looking to go beyond basic makeup and add in some latex prosthetics to create a multi-dimensional, gory effect.
“When I first got started I used to get latex and cotton or tissue paper and layer them to make wounds or burn textures,” recalls Calhoun, a makeup FX artist who worked on Guillermo del Toro's The Shape of Water. “Play around with how many layers you add, how you wrinkle them, and add grease paint or fake blood to give it the full effect.”
Another thing to keep in mind is that the quality of latex prosthetics can vary. “Most ‘Halloween Store Quality’ prosthetics are slip latex with thick edges that lack detail,” Wills explains. “If your budget allows, buy quality foam latex prosthetics from a specialty makeup supplier.”
But no matter what materials you end up using, YouTube is full of tutorials for putting on latex prosthetics, including some that Wills has put up.
“Watch multiple videos and take notes,” Wills suggests. “Pay attention to the types of makeup used, and how it is applied.”
And again, once you feel comfortable with what process you use, it’s important to have a practice session or two before you head out to scare the town.
IF YOU’RE MORE ADVANCED, TRY SILICONE PROSTHETICS
Once you have a few latex FX creations under your belt, you may be ready to work your way up to silicone prosthetics. Silicone is a two-part mixture, and there are many different types.
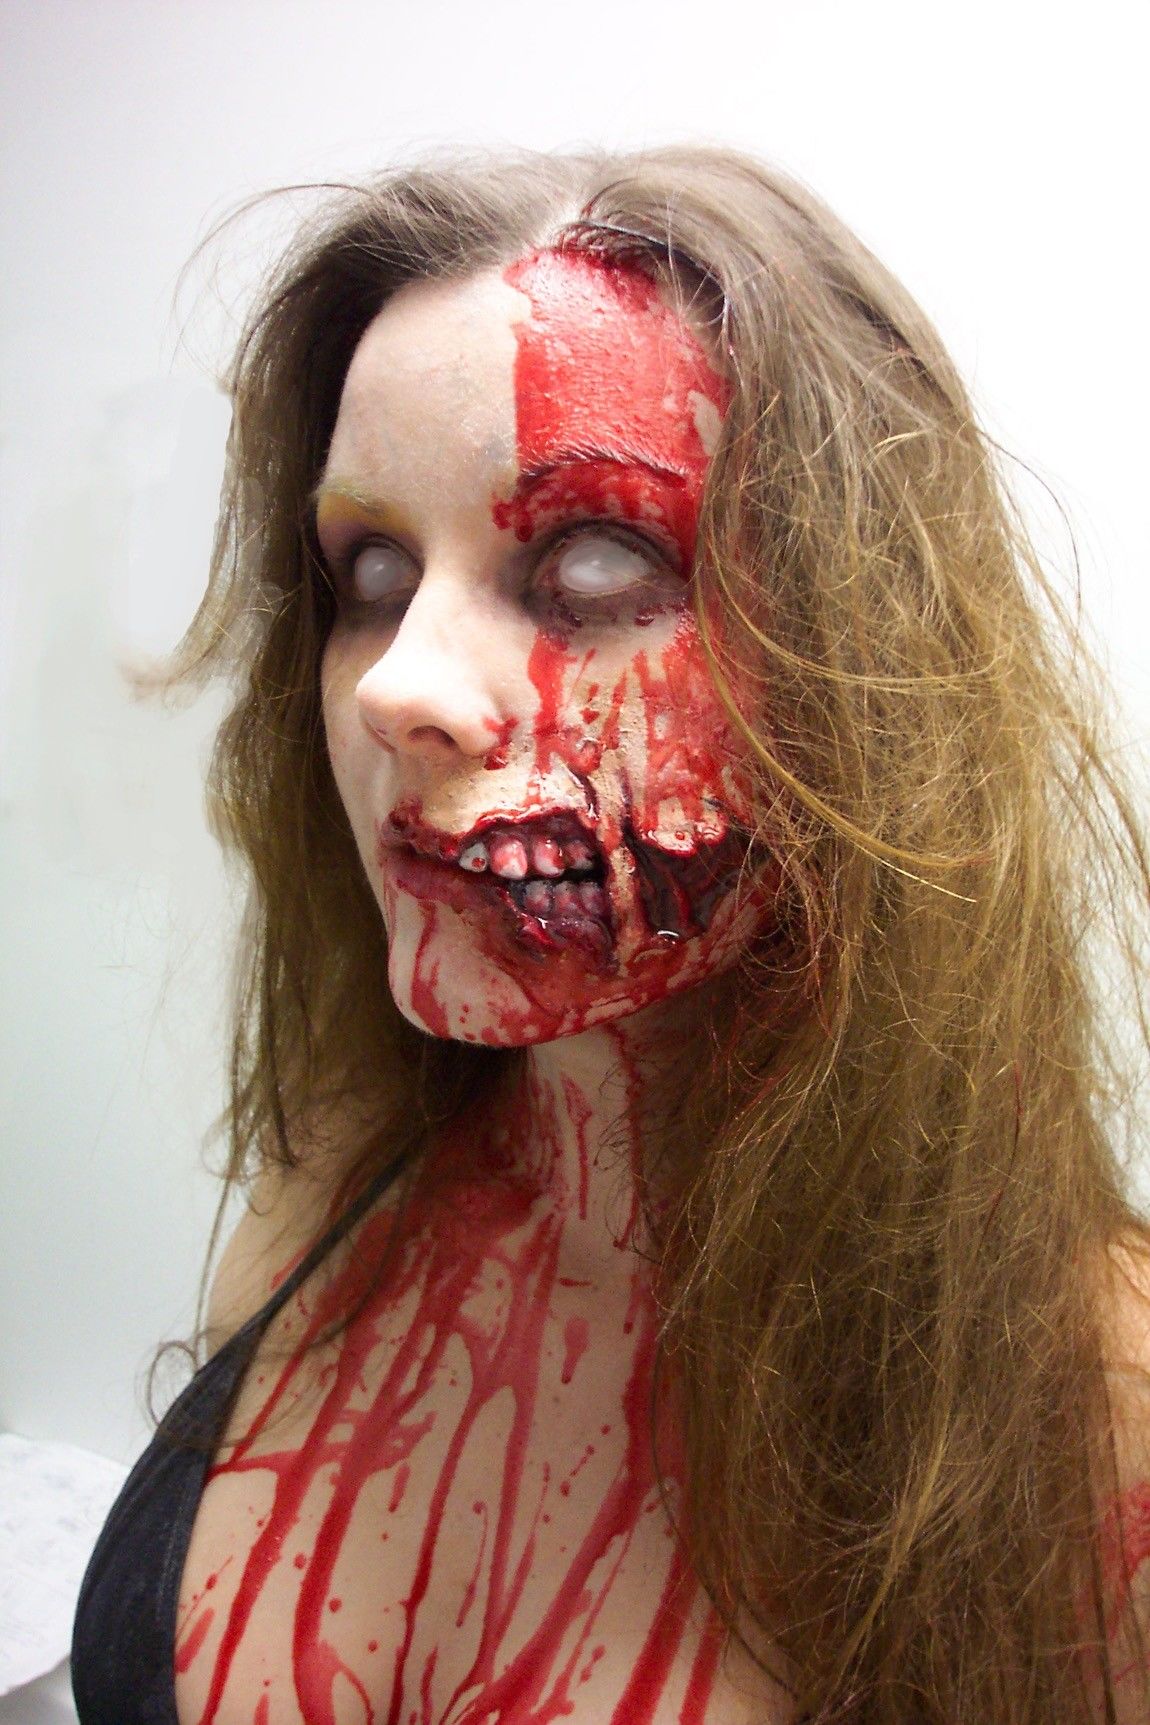
Sniper recommends a product called 3rd Degree. “Once you mix [the components], you have about five minutes of working time (based on the temperature in the room) to sculpt and apply onto the skin," she explains. "Once cured, it moves easily with the skin and can be peeled off easily.”
Sniper has used silicone to create encapsulated pieces like the ones above. These creations are beyond what an amateur can do at home, and can require having a life cast of someone’s head and/or cooking it in a specially-made oven that definitely isn’t meant for food (and that you likely don't have lying around at home). When starting out, though, it’s motivating and exciting to see how far you can take it, if you put in the time and the effort.
AND OF COURSE, REMEMBER TO BE SAFE… AND HAVE FUN
Whatever you decide to do, you need to pay attention to what you're doing — and use some good old-fashioned common sense. “Every year I see people glue scissors, pencils, and other sharp and unsafe objects to their face or body because they saw someone do it on YouTube,” Wills cautions. “Professionals recreate these objects in soft rubber and foam before attaching them to a person... be mindful of safety when creating and applying your makeup look.”
Wills also cautions that how you remove your prosthetics is as important as how you put them on: “Many folks will rip a prosthetic off their face after a long night of Halloween fun, not realizing that it can be harmful, even if it ‘does not hurt’ when doing it. Research the right remover for your prosthetic glue. Your skin will thank you.”
And finally, all the experts emphasize that you should be creative and have fun with it.
“Remember that the piece doesn’t have to be what it says it is,” Calhoun suggests. “Get creative and try moving pieces around and painting things differently.”
“And don’t give up,” Sniper adds. “Just stay active in the field — it’s very fun and worthwhile in the end.”


